Pumpkin Carving Guide
Our pumpkin carving guide is here just in time for the best part of Halloween (after candy, of course): making jack-o-lanterns! Whether you’re artistic or prefer a simple triangle-eyes design, pumpkin carving is a great time for family and friends to get together and celebrate the season. Since pumpkins are coming into season and ready to be carved, now is the perfect time to take a look through this pumpkin carving guide. We cover preparing pumpkins for carving, a few tips for pumpkin carving, and how to preserve your carved pumpkin. Grab a knife and the best pumpkin from the pumpkin patch, and let’s get ready for Halloween!
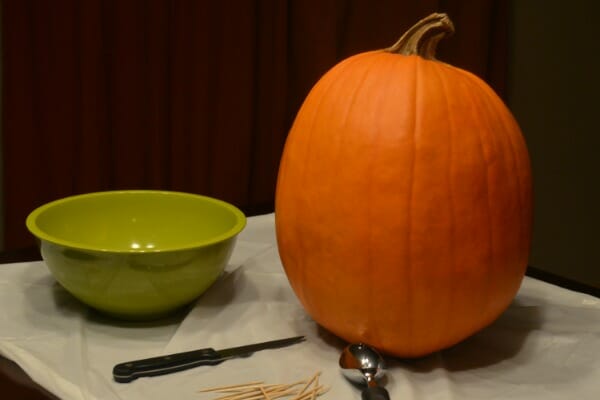
Preparing Pumpkins for Carving
First, find the perfect pumpkin. Try using local pumpkins, such as ones from a farmer down the road, so that you can be sure the pumpkin is fresh and hasn’t been rolling around in the back of a truck for a few days. Look for one with a sturdy stem and no soft spots. Soft spots mean rot, which already decreases the life of your jack-o-lantern! Finally, find one with a flat bottom so it won’t go tumbling off the porch stoop.
Then, it’s time to start the basic prep work. While most people cut an angled hole in the top of the pumpkin, we’ve found that cutting a hole in the bottom actually works much better. It’s easier to put a candle or light inside the pumpkin when the hole is in the bottom, and you don’t have to worry about getting the perfect angled cut so the lid doesn’t fall inside the jack-o-lantern. Make sure all the pulp is scooped out–save the seeds for a cinnamon pumpkin seed snack!–and then take it a step further and really scrape down the walls. The thinner the walls, the easier the pumpkin will be to carve; scrape until the walls are just over an inch in thickness.
Six Tips for Pumpkin Carving
While most of us have been carving pumpkins for years, there are a few handy tricks and tips that have convinced us to try some new techniques!
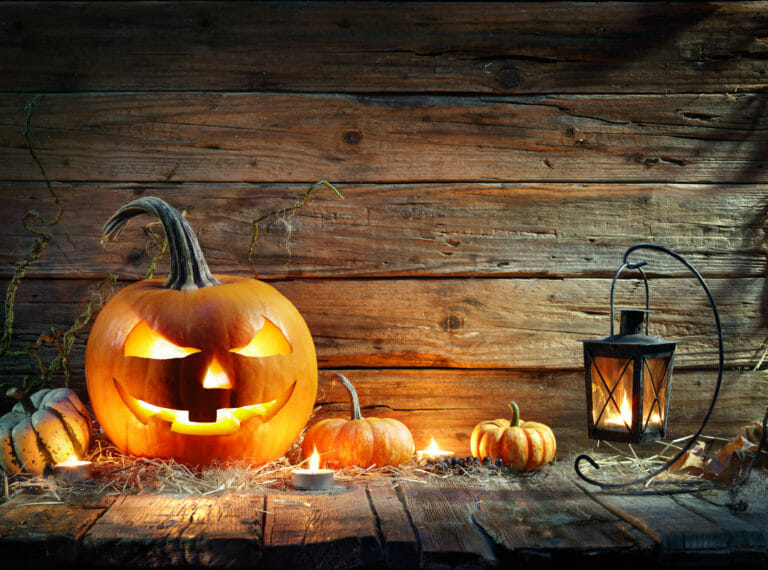
- Hold the pumpkin on your lap with the “face” looking up at you to make it easier to carve. Carve straight up and down so that it’s a clean cut. Cuts at an angle can block some of the light from coming out of the jack-o-lantern and end up looking sloppy.
- If you’re tracing a pattern, trace around it with marker. It’s so much faster than poking holes with a toothpick! If you aren’t good at following the lines, and worry that marker will be visible on the pumpkin, try chalk for something that can easily wipe off once the pumpkin is carved.
- Attempting a complicated design? A small pumpkin saw can be a relatively inexpensive tool that makes it much easier to craft delicate features.
- Cut a small hole in the top of the pumpkin so that candle heat can escape. Just light a candle, wait for 10 minutes, and then peek inside the pumpkin to see where the black spot is. Cut a small hole around that spot. Tealights and other flameless light options tend to be safer, need less watching, and don’t run the risk of blowing out in a big wind gust, too.
- Sprinkle cinnamon on the cut-out lid or base of the pumpkin so that it smells like a pumpkin pie!
- While a group of jack-o-lanterns grouped on a porch stoop is always going to be classic, try something a little different this year when it comes to display. This skeleton pumpkin holder is perfectly suited for holding a carved pumpkin, and will add a fun and adorable touch to your decorations with his bow tie!
Carved Pumpkin Preservation
Once your pumpkin is carved, you have a couple of options for preservation. If you need it to last for a long amount of time–think: longer than a week–then try to keep it out of rain and wind. If you just need it to look beautiful for less time than that, we recommend spraying the pumpkin with bleach. This helps it perfectly hold its shape and design, though it will cause rot and mold to form after a week. Just mist the pumpkin with the bleach spray every day until Halloween is over.
More from Ginny's Recipes & Tips


Categories: Halloween Party Treats
